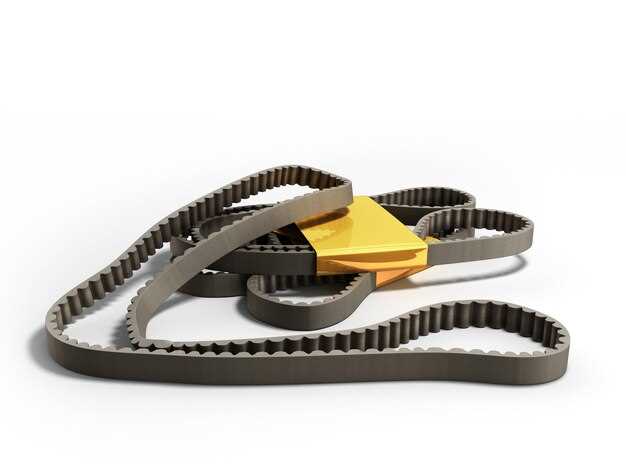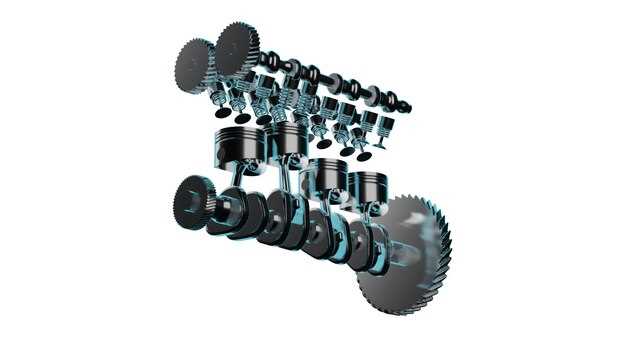
The timing belt is a critical component in an engine’s operation, connecting the crankshaft and camshaft to ensure precise timing of valve movements. Regular replacement of the timing belt is essential for optimal engine performance and longevity, as a worn or failed belt can lead to severe engine damage. Understanding the best practices for timing belt replacement can save both time and costly repairs in the long run.
When replacing a timing belt, it is important to follow manufacturer guidelines and recommended intervals, typically found in the vehicle’s owner manual. This ensures that the replacement occurs before the belt reaches the end of its service life. Additionally, it is recommended to check related components, such as the water pump and tensioner, during the replacement process. These parts often have similar lifespans, and replacing them simultaneously can prevent future breakdowns.
Moreover, utilizing the proper tools and techniques is crucial for a successful timing belt replacement. Aligning markings accurately and applying the correct tension to the new belt can significantly reduce the risk of misalignment or premature wear. Taking the time to carefully execute each step in the procedure enhances the reliability of the replacement work and contributes to the overall health of the engine.
In this article, we will explore detailed best practices for timing belt replacement, emphasizing important steps that should never be overlooked. By adhering to these guidelines, both professional mechanics and DIY enthusiasts can ensure their vehicles run smoothly and efficiently for years to come.
Assessing Timing Belt Wear and Signs of Replacement
The timing belt is a crucial component in an engine, responsible for synchronizing the rotation of the crankshaft and camshaft. Regular assessment of its condition is vital to avoid potential engine damage.
One of the primary indicators of timing belt wear is visual inspection. Look for signs of fraying, cracking, or glazing on the belt surface. Any small cracks or signs of deterioration can signal that the timing belt is nearing the end of its service life. Additionally, check for missing teeth, as this can lead to misalignment and severe engine problems.
Another important factor to consider is the mileage and age of the timing belt. Most manufacturers recommend replacement every 60,000 to 100,000 miles, but this can vary based on engine type and driving conditions. If the vehicle has reached this mileage range, even if there are no visible signs of wear, a proactive replacement is recommended.
Listen for unusual noises from the engine, such as squealing or ticking sounds, which may indicate that the timing belt is loose or has suffered internal damage. If you experience any engine misfiring or reduced performance, it can also be a sign of timing belt issues.
Regular maintenance and inspection records should be kept to track timing belt replacements and servicing. If you observe any of these signs, it is crucial to consult a professional mechanic to determine if replacement is necessary. Addressing timing belt wear promptly can prevent costly repairs and ensure the longevity of the engine.
Tools and Materials Required for Proper Replacement

Replacing a timing belt requires specific tools and materials to ensure the procedure is efficient and effective. Selecting the right items not only aids in completing the replacement correctly but also minimizes the risk of damage to the engine components.
First, gather essential tools. A basic mechanic’s toolset containing wrenches, sockets, and screwdrivers will be fundamental for loosening and removing components. A torque wrench is critical for tightening bolts to the manufacturer’s specifications after the replacement, ensuring that everything is secure.
Next, consider specialized tools. Timing belt kits often come with specific tools required for belt tension adjustment and alignment. A timing light can be useful for checking ignition timing after the replacement, while a belt alignment tool can help ensure the new belt is seated properly on the pulleys.
In addition to tools, the right materials are necessary for a successful replacement. A new timing belt should always be of high quality and preferably recommended by the vehicle manufacturer. Depending on the vehicle model, it may be wise to replace associated components such as the water pump, pulleys, and tensioner at the same time. This reduces the need for future disassembly and ensures longevity.
Other materials include coolant (if the water pump is being replaced) and any necessary gaskets or seals. Additionally, using a belt dressing or lubricant may be beneficial for proper installation, but ensure that it complies with manufacturer recommendations to avoid compromising the belt’s performance.
Lastly, don’t forget safety equipment. Gloves, safety glasses, and protective clothing will help safeguard against injury while working in the engine bay. Adhering to this list of tools and materials will facilitate a smooth and successful timing belt replacement process.
Steps to Ensure Accurate Timing Belt Installation

To achieve a successful timing belt replacement, precise installation is critical. Follow these steps to ensure accuracy and longevity of the new belt.
Firstly, begin by disconnecting the negative battery terminal to prevent electrical issues during the process. Next, remove any components obstructing access to the timing belt, such as the engine covers, pulleys, and accessories. Document the positions and configurations of these components to aid reassembly.
Before removing the old timing belt, carefully align all timing marks on the crankshaft and camshaft to ensure proper synchronization. This alignment will be crucial for the accurate installation of the new belt.
Once the marks are aligned, relieve tension from the timing belt tensioner. Remove the old belt and inspect the pulleys and tensioner for wear or damage; replacing these components can enhance the performance and durability of the new installation.
When ready to install the new timing belt, place it over the sprockets while maintaining the alignment of the timing marks. Ensure the belt is seated correctly in all sprockets and smoothly wrapped around the pulleys.
After installation, reapply tension to the tensioner according to the manufacturer’s specifications. Confirm that the timing marks remain aligned during this process. Turn the engine by hand at least two full revolutions to double-check timing accuracy.
Finally, reassemble any removed components in their original positions, reconnect the battery, and conduct a final inspection for any tools or parts left behind. Start the engine and listen for any unusual noises, as this may indicate improper installation.
