

Suspension bushings play a crucial role in the overall performance and handling of your vehicle. These small but essential components are designed to reduce friction and absorb shock between various parts of the suspension system. Over time, bushings can wear out, leading to a decline in ride quality, increased noise, and even compromised safety. This guide will provide you with step-by-step instructions on how to replace suspension bushings, ensuring your vehicle maintains optimal performance.
Replacing suspension bushings may seem daunting, but with the right tools and a little bit of patience, it is a task that can be tackled by any DIY enthusiast. In this article, we will walk you through the entire process, from identifying worn bushings to successfully installing new ones. By the end of this guide, you will have the knowledge and confidence needed to restore your vehicle’s suspension system to its original condition.
Before diving into the replacement process, it is essential to understand the symptoms of worn suspension bushings. Common signs include uneven tire wear, excessive vibrations, and a noticeable decline in handling responsiveness. Identifying these issues early on can save you from further complications and costly repairs. Let’s get started on your journey to a smoother ride by examining the necessary tools and materials.
Identifying Worn Bushings in Your Suspension System
The suspension system of a vehicle relies on various components, including bushings, to ensure a smooth and stable ride. Over time, these bushings can wear out, leading to decreased performance and safety. Identifying worn bushings is crucial for maintaining your vehicle’s handling and comfort.
Begin by observing the vehicle’s behavior during regular driving. If you notice unusual noises such as clunks, rattles, or squeaks when driving over bumps or uneven surfaces, it may indicate that the bushings have deteriorated. A noticeable increase in vibrations while driving can also signal that the bushings are no longer effectively dampening movements.
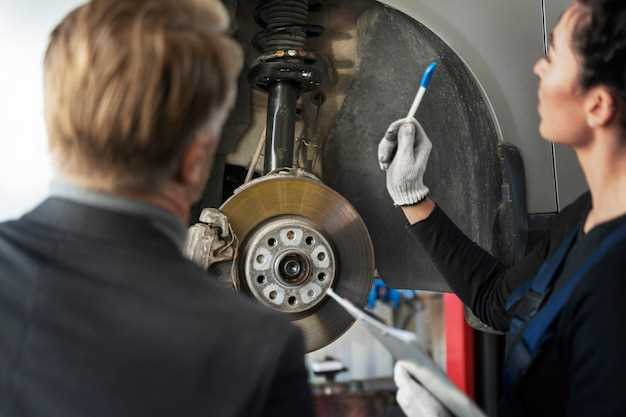
Next, perform a visual inspection of the bushes. Look for signs of cracking, tearing, or excessive wear on the rubber material. If you see any distortion or irregular shapes, this is a strong indicator that the bushings need to be replaced. Pay close attention to the areas where the bushings connect with other suspension components, as significant wear often occurs at these points.
Additionally, check for excessive play in the suspension components. With the vehicle lifted, try moving the control arms or sway bars to see if there is any noticeable movement. If the components shift significantly, it suggests that the bushings are no longer securing them properly.
Lastly, consider the age and mileage of your vehicle. If it has been several years or surpasses the manufacturer’s recommended mileage for bushing replacement, it may be time to evaluate the condition of the bushings, even if no immediate symptoms are present. Regular maintenance checks can help catch worn bushings early, preventing further damage to the suspension system.
Tools and Materials Needed for Bushing Replacement
Replacing suspension bushings requires specific tools and materials to ensure a smooth and efficient process. The following list outlines the essential items you’ll need.
Tools:
1. Jack and Jack Stands: A hydraulic jack is necessary to lift the vehicle safely, while jack stands provide stability and prevent accidents during the repair.
2. Socket Set: Various socket sizes are essential to remove bolts and nuts holding the suspension components in place.
3. Wrenches: Combination wrenches or an adjustable wrench will help you tackle hard-to-reach bolts that a socket might not fit.
4. Torque Wrench: This tool ensures that suspension components are tightened to the manufacturer’s specifications, avoiding future issues.
5. Suspension Bushing Tool or Press: A special tool designed for removing and installing bushings makes the job significantly easier and prevents damage to the suspension system.
6. Hammer: A mallet can be used to carefully assist in driving out old bushings if they are stuck.
Materials:
1. Replacement Bushings: Ensure that you have the correct bushings for your vehicle’s make and model. Quality bushings can greatly influence the longevity and performance of your suspension system.
2. Grease: This is essential to lubricate the new bushings during installation, allowing for smoother movement and reducing wear.
3. Cleaning Supplies: Brake cleaner or solvent may be needed to clean old grease and debris from the suspension components before installation.
4. Safety Gear: Gloves and safety glasses are crucial for protecting yourself from dirt, debris, and potential injuries during the process.
Having the right tools and materials readily available will streamline the bushing replacement process and ensure that your vehicle’s suspension system operates effectively and safely.
Step-by-Step Procedure for Removing and Installing Bushings
Replacing suspension bushings requires a systematic approach to ensure proper installation and functionality. Follow these steps to remove old bushings and install new ones effectively.
Step 1: Prepare the Workspace
Ensure you have a clean, well-lit workspace with all necessary tools on hand. Gather a floor jack, jack stands, wrenches, a bushing removal tool, and lubricant.
Step 2: Lift the Vehicle
Using a floor jack, lift the vehicle and place it securely on jack stands. This provides adequate access to the suspension system.
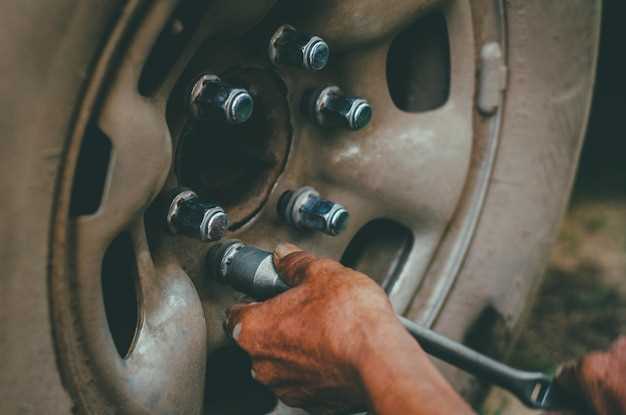
Step 3: Remove the Wheel
With the vehicle elevated, remove the wheel to expose the suspension components where the bushings are located.
Step 4: Detach Suspension Parts
Identify the suspension components secured by the bushings. Using wrenches, carefully detach these components from the chassis or control arm. Keep track of hardware for reinstallation.
Step 5: Remove Old Bushings
Utilize a bushing removal tool to extract the old bushings. Apply lubricant for easier removal if necessary. Ensure all remnants are cleared from the housing.
Step 6: Inspect Components
Check the surrounding suspension components for wear or damage. Replace any parts that may compromise the integrity of the suspension system.
Step 7: Install New Bushings
Align the new bushings in their designated housings. Use the bushing installation tool to press them in firmly, ensuring they are flush with the surrounding surfaces.
Step 8: Reattach Suspension Parts
Reattach the suspension components in the reverse order of removal. Ensure that all bolts and nuts are tightened to the manufacturer’s specifications to maintain system integrity.
Step 9: Reinstall the Wheel
Once everything is secured, reinstall the wheel and lower the vehicle from the jack stands.
Step 10: Test Drive
Perform a test drive to ensure that the new bushings function correctly within the suspension system. Listen for any unusual noises and check for proper alignment.